Updated: 2021-06-30
Although it is imperative that you learn the features and quirks of your camera, you also need to know the basics of photography in general. I want to share with you some simple tips and tricks that will help you take better pictures.
Using them as a guide, you will surely be able to achieve the spectacular pictures you are looking for. It is important to remember that there are exceptions to every rule. You do not have to be afraid to try something that you think looks good, yet it is not part of this guide.
I hope you enjoy it!
Why you should use the viewfinder
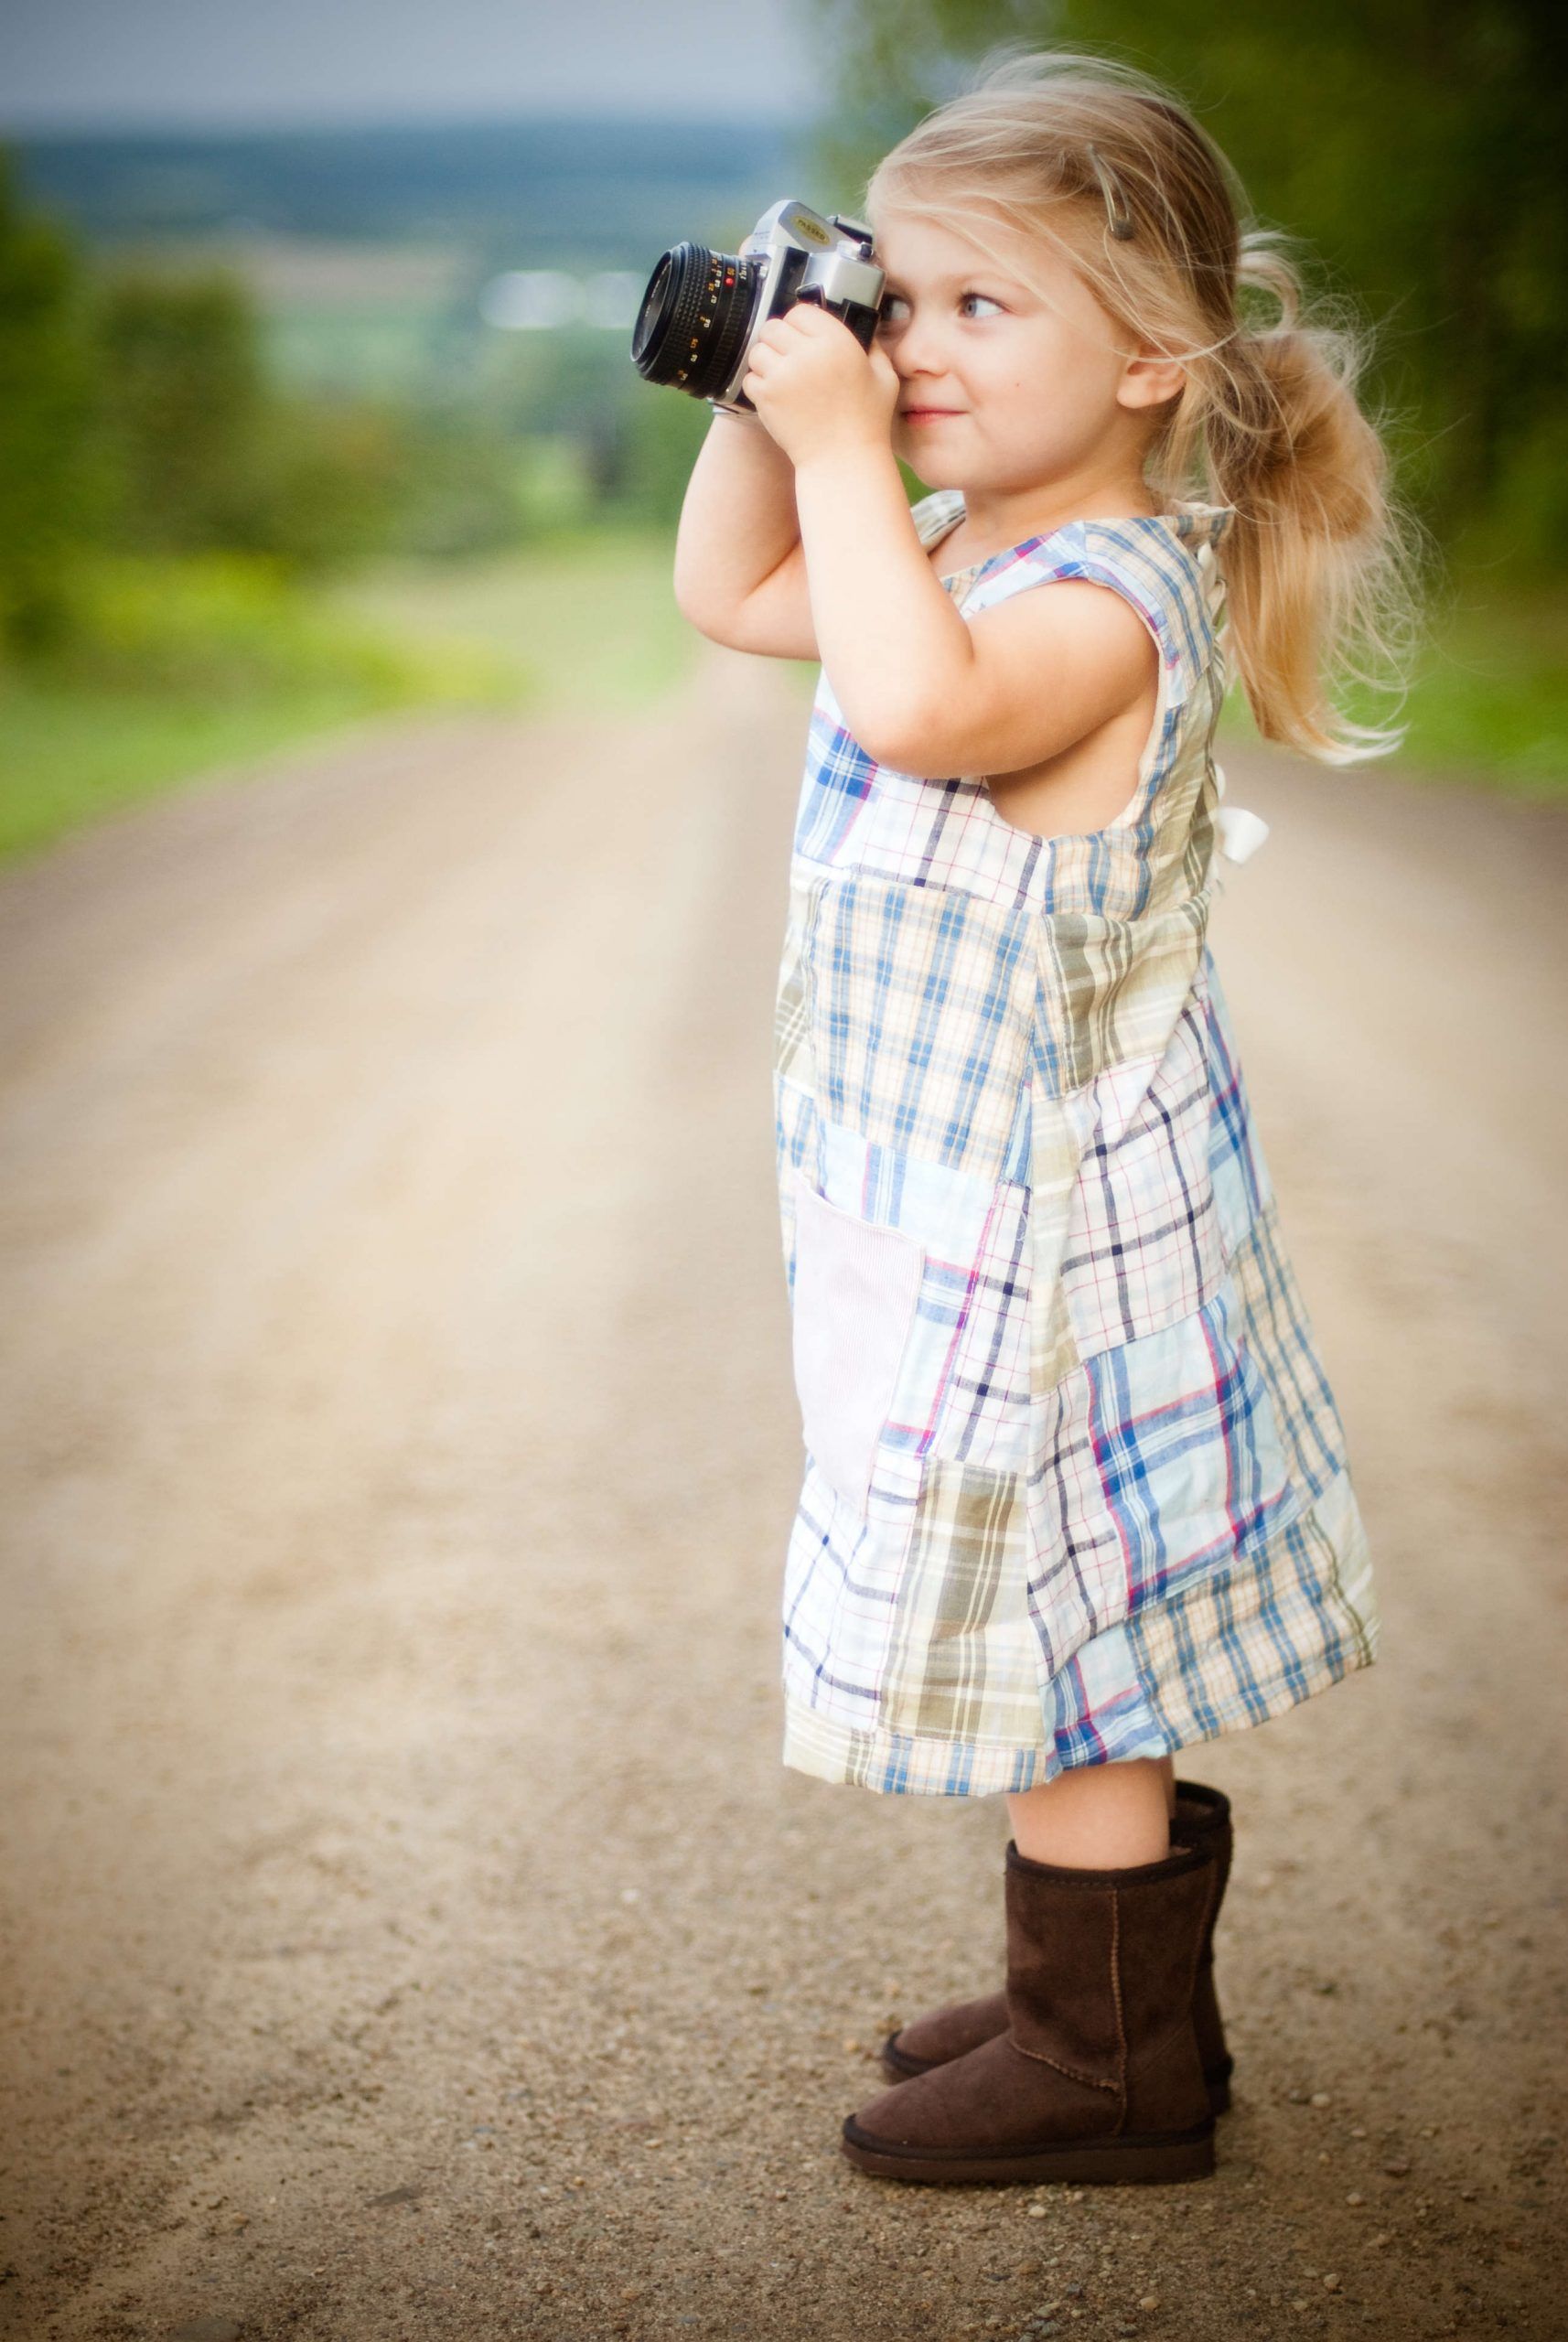
Taking just a moment to pause just before taking the picture can go a long way toward making the outcome better. It might seem insignificant, but many times, a little hesitation can make a significant difference.
Make sure that everything you want to be in the viewfinder is there and that there is nothing else in there that shouldn’t be there. In addition, you should make sure that the settings on your camera are set the way you want them to be, and that the camera is level and straight. It is important to ensure that when you are shooting a person, the objects behind the subject do not appear cluttered around the subject’s head or body.
A close-up picture of a properly framed person is often more interesting than a picture with extra stuff in the background. A lamp behind someone’s head is an example of a no-no since it will detract from the photo.
Continuous shots
You’ll likely notice a delay between the time you can take one shot and the time you can take another. My God! That’s so annoying!
Fortunately, many cameras on the market today have buffers that will allow you to continue shooting when it takes to process your images. You should have this if you are planning on taking fast action shots.
This setting is not available on all cameras, so you’ll have to wait between attempts if your camera does not have it. This is why it might be good to look for a camera with a fast shot-to-shot time or a continuous mode.
As a rule of thumb, you should not worry about this since even point, and shoot cameras have this feature. For shooting live-action, or if you are shooting through glass, use the override feature of your camera if it allows you to override autofocus.
You should be aware that even if your camera has a buffer, the autofocus may not react fast enough to allow you to snap pictures if you are taking pictures too quickly or the light is too low.
Trying different angles
It is advisable to try shooting your subject from different angles instead of just straight on. In many cases, this can add a unique point of view and dimension to the picture. In order to be able to complete a project, you should not be afraid to stand on a chair, climb a hill, or lay on your back.
In order to achieve that perfect shot, great artists will go to great lengths to achieve it! You may want to try turning the camera 90° to take a vertical shot instead of a horizontal one. You can use this technique when you are taking a picture of something that is very long or when you are taking a picture of one or two people.
White balance
Have you ever noticed that your shots sometimes have a cold, clammy feel to them¢? If so, you’re not alone. The default white balance setting for digital cameras is on auto, which is fine for most snapshots.
Still, it fends to be a bit on the “cool” side. When you’re shooting outdoor portraits and sunny landscapes, you should try changing your white balance setting from auto to “cloudy.” This is like putting a warming filler on your camera and results in richer, warmer pictures.
Setting the flash
Many digital cameras have an automatic flash setting, but using this doesn’t always produce the best results. You can get better shots by controlling the flash manually. For example, when taking outdoor photographs of people, it is sometimes a good idea to turn on the flash to light up the subject, especially if he or she is in shade.
On the other hand, you might want to turn off the flash when taking indoor shots; using the flash indoors can result in Unnatural skin color and harsh glare in your photos.